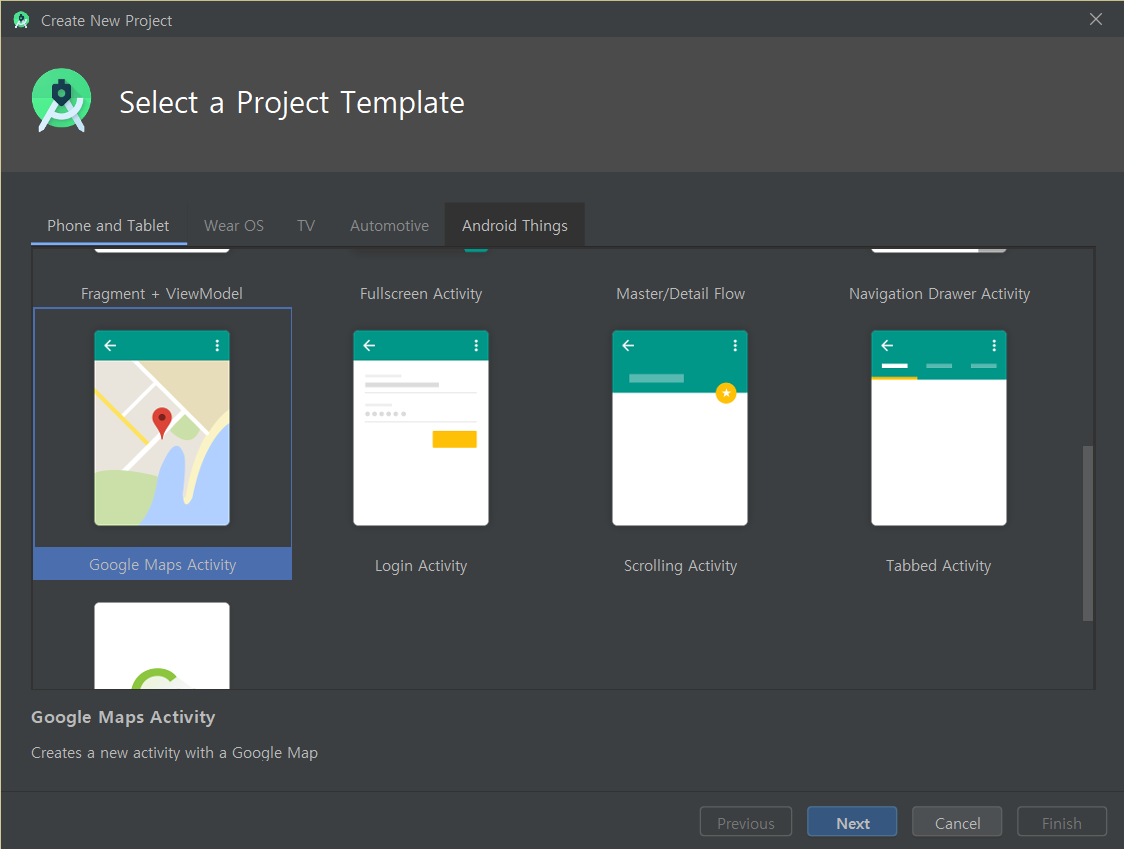
Create New Project With Google Maps Activity
I’ll work with Kotlin, so if you are going to follow this, I recommend you to set it as Kotlin. Java is for sure most common language, thereby you would be able to find more references with it. However, it’s not too difficult to translate Java to Kotlin, and it should be good experience to use Kotlin.
So, once you created the project and finished the build, it will show you ‘googld_maps_api.xml’ file, and on the middle of it, there’s a link of google developer console.
- Open it and create a project following the instruction of google.
- Click ‘create API key’ button.
- It will automatically set the project with your SHA-1 code and package name. Save them with default settings.
- You need your API key, so copy it, and paste it on ‘YOUR_KEY_HERE’ in the ‘google_maps_api.xml’.
This SHA-1 code is only for debugging. After you generate an app file, you need to add your laptop’s SHA-1 code as well, or the app will only show you empty gray screen.
Back to Android Studio
To enable your location information, you have to add a dependency on build.gradle of app.
dependencies {
	...
    implementation 'com.google.android.gms:play-services-maps:17.0.0'
    implementation 'com.google.android.gms:play-services-location:17.0.0'
    ...
}
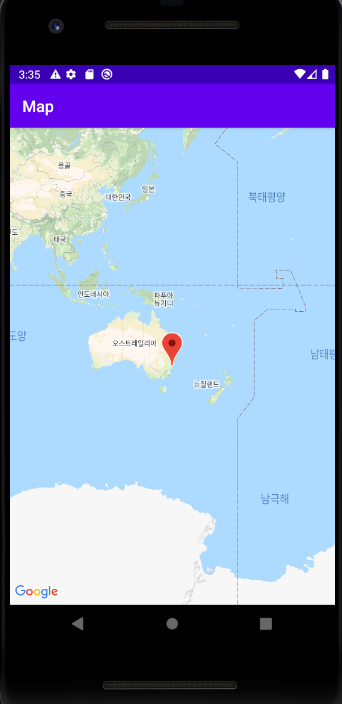
So, basic settings are all done. If you run your app, it will show you this:
If you open ‘MapsActivity.kt’ file, you will see the main code. onCreate function is what is started when the app is on. You may also find onMapReady function.
override fun onMapReady(googleMap: GoogleMap) {
    mMap = googleMap

    // Add a marker in Sydney and move the camera
    val sydney = LatLng(-34.0, 151.0)
    mMap.addMarker(MarkerOptions().position(sydney).title("Marker in Sydney"))
    mMap.moveCamera(CameraUpdateFactory.newLatLng(sydney))
}
It’s very intuitive and literal, you can start from here. onMapReady is started when the the map fragment of a main layout is mounted. It works quite similar with onCreate.
[]: